ACSL+
Instructor Guide: Update Personal & Public Profile
Learn how to manage your private information and your public instructor page.
1 Login to Your Dashboard
Go to: https://raiseexamscores.com/login
Enter your email and password to access the instructor panel.
💻 OS Compatibility:
Login might look slightly different on Mac (Safari) vs Windows (Chrome). Please keep your browser updated.
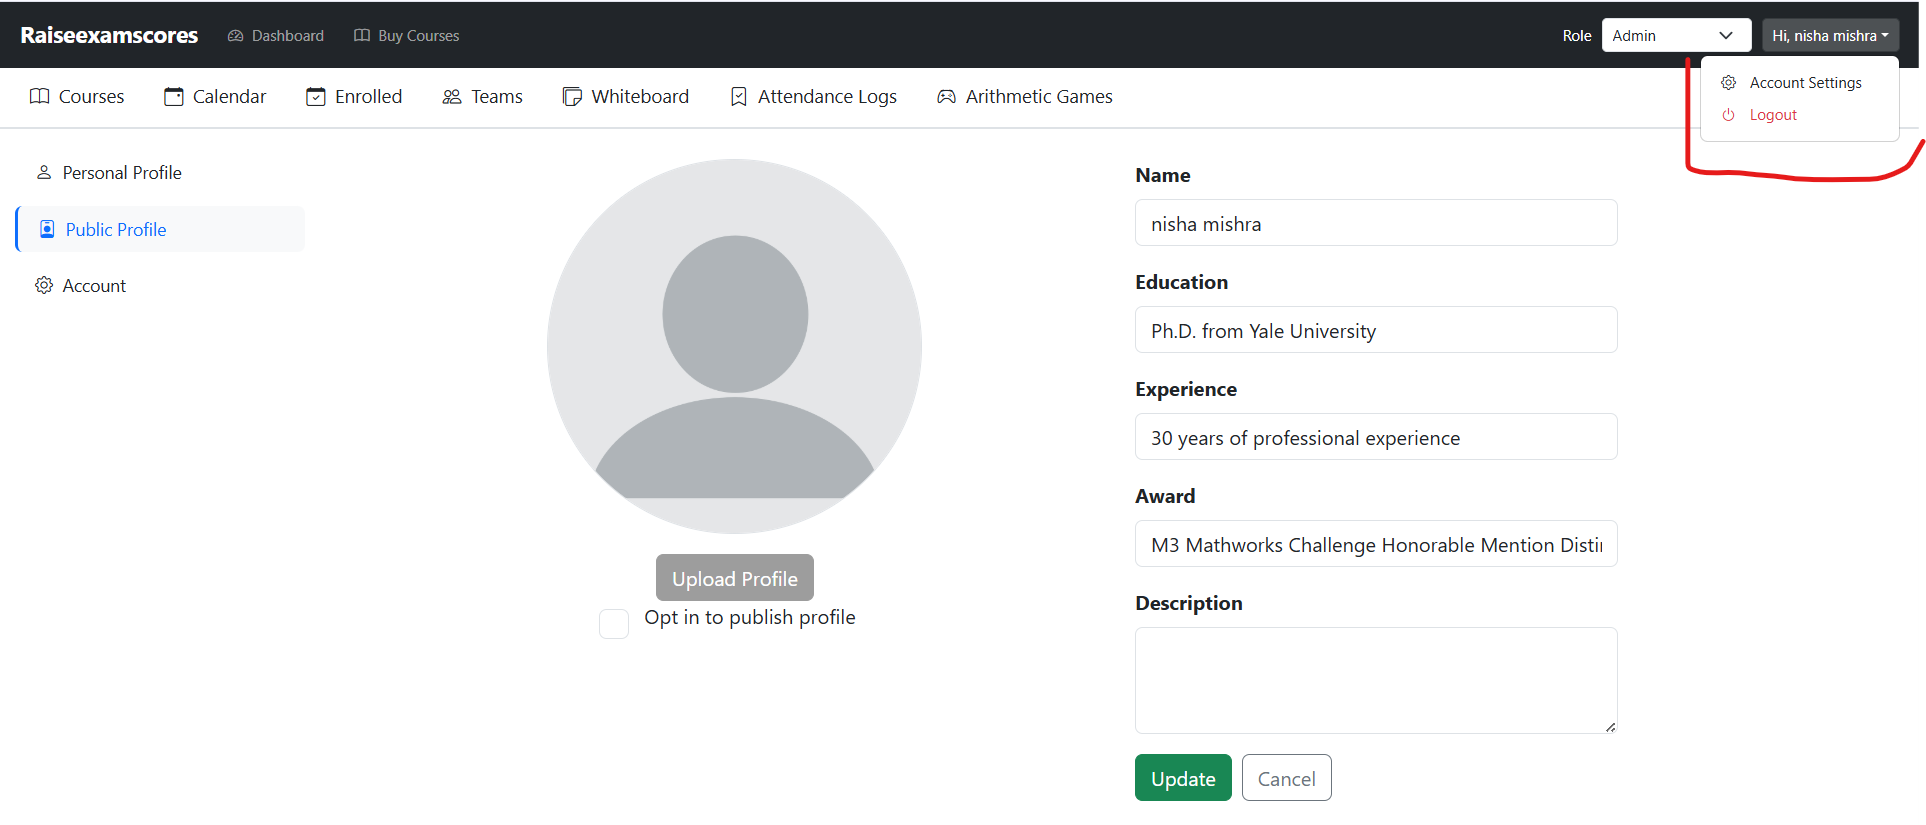
2 Open Account Settings
Look at the Top Right Corner of your dashboard and click on Account Setting.
3 Manage Personal Profile (Private)
On the left-side navigation panel, you will see the Personal Profile option.
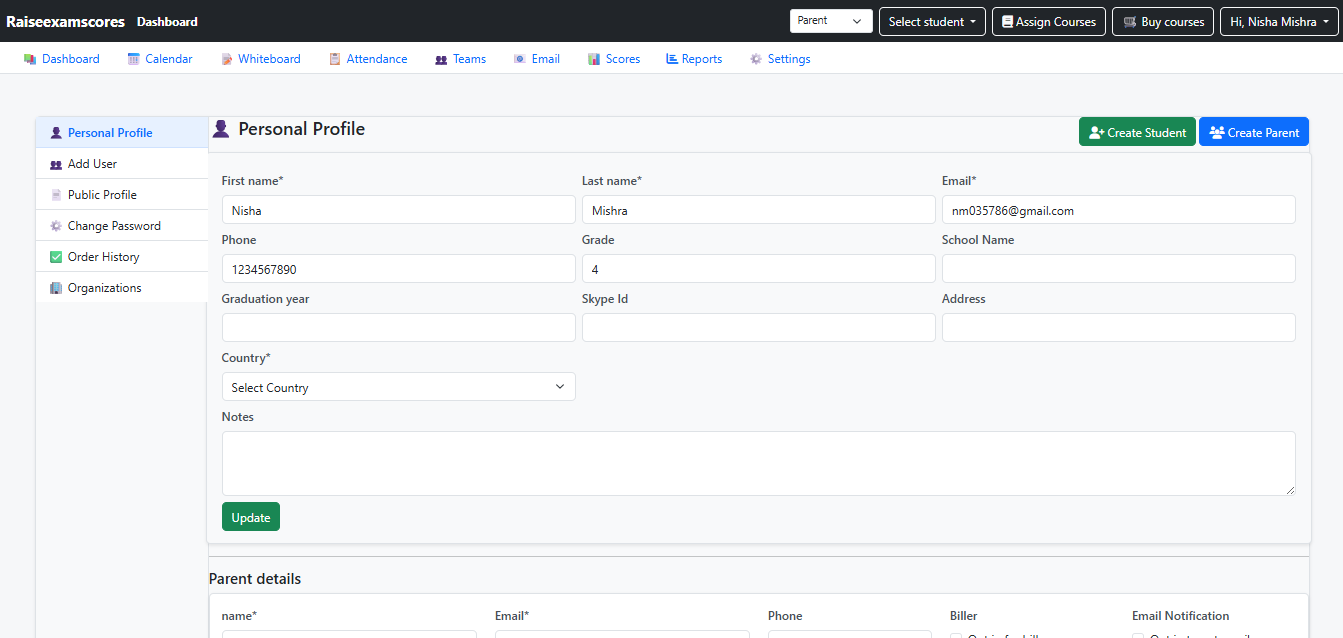
🔒 Note: Information updated in the Personal Profile section is for internal records only. This data will not reflect on the public website.
4 Update Public Profile (Public)
To update what students see, click on the Public Profile tab. Here you can add your professional details:
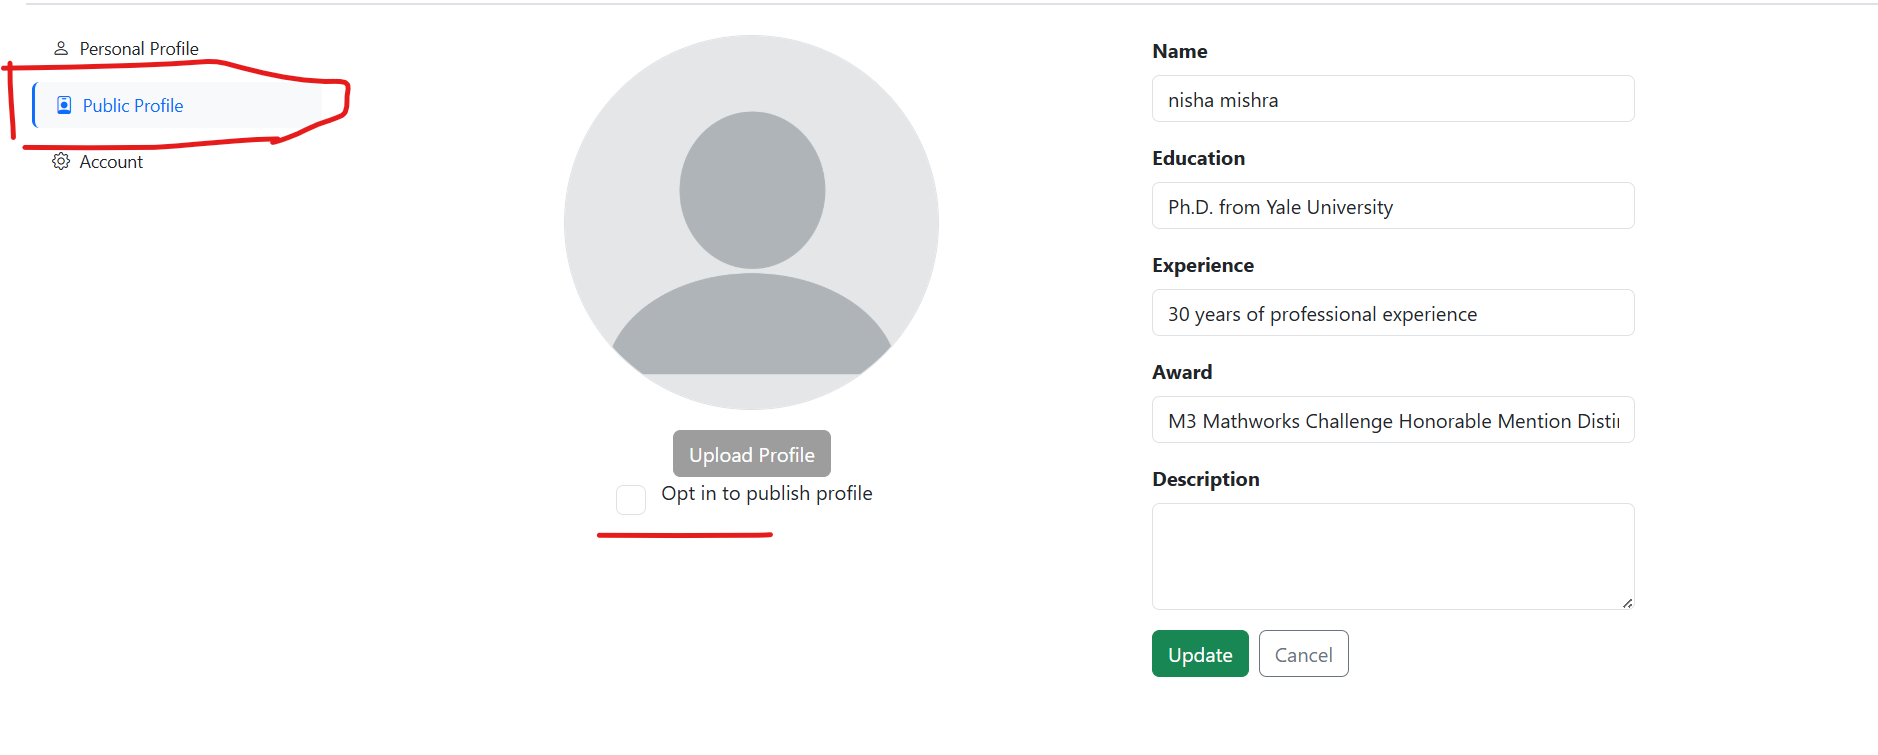
- Update your Bio, Expertise, and Experience.
- Upload a professional Profile Picture.
- Add links to your social media or portfolio.
5 Publish Your Changes
Your profile will only show on the website if you enable it:
- Check the box/icon labeled Is Publish Profile.
- Click the purple Update button at the bottom.
✅ Your public profile is now live!
6 Verify Live Profile
Check your live listing on the public directory: