Parent Flow
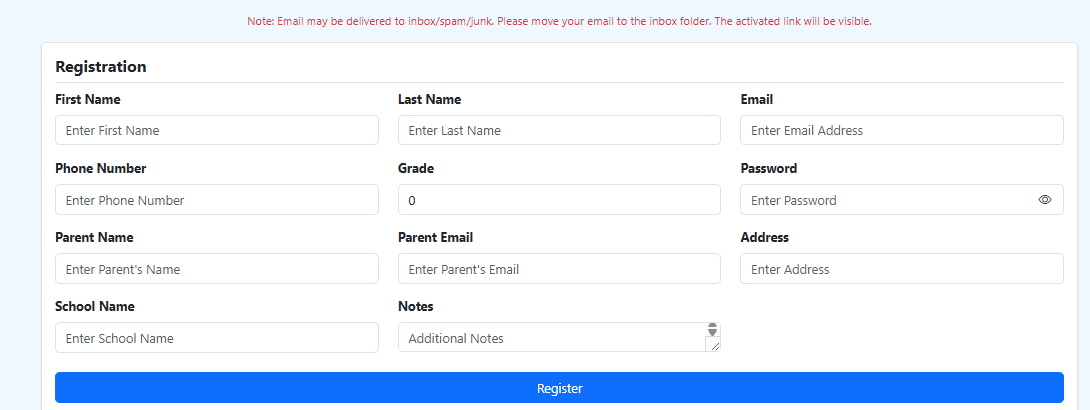
1. Go to the sign up / register page.
2. Fill in the required details and click on the register button, or use the register using Google option. After successful registration, you will be redirected to the login page.
3. Add login details or use Google login to access the dashboard.

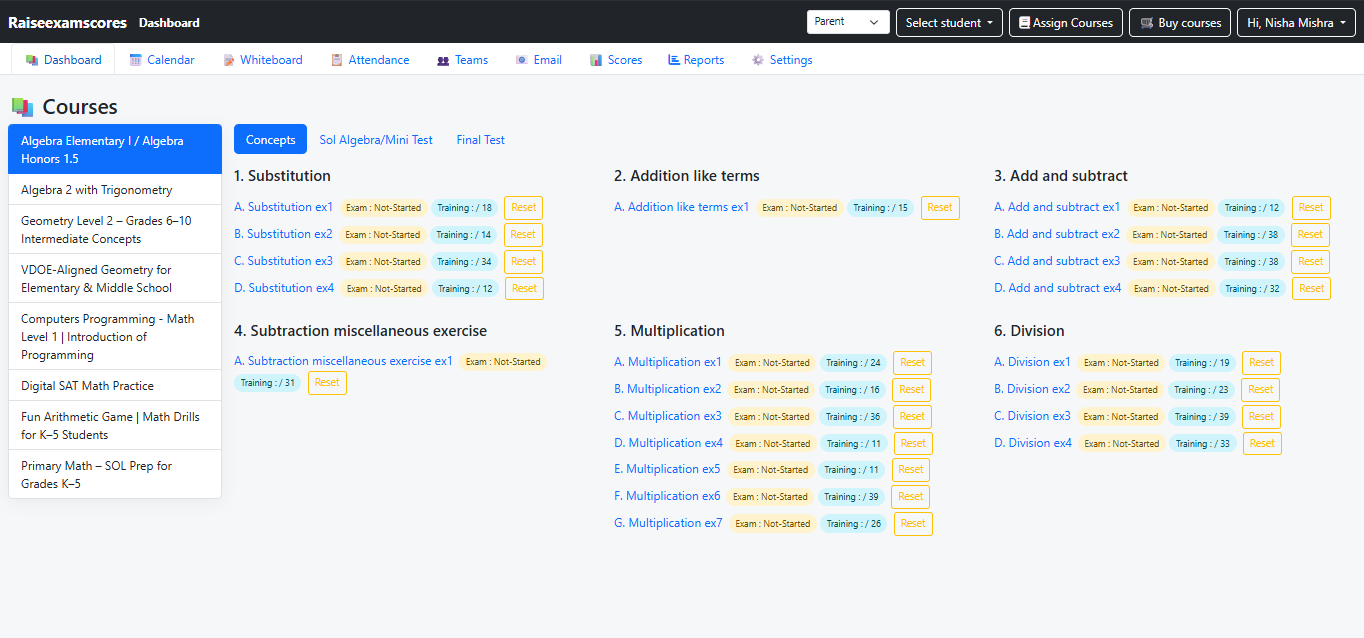
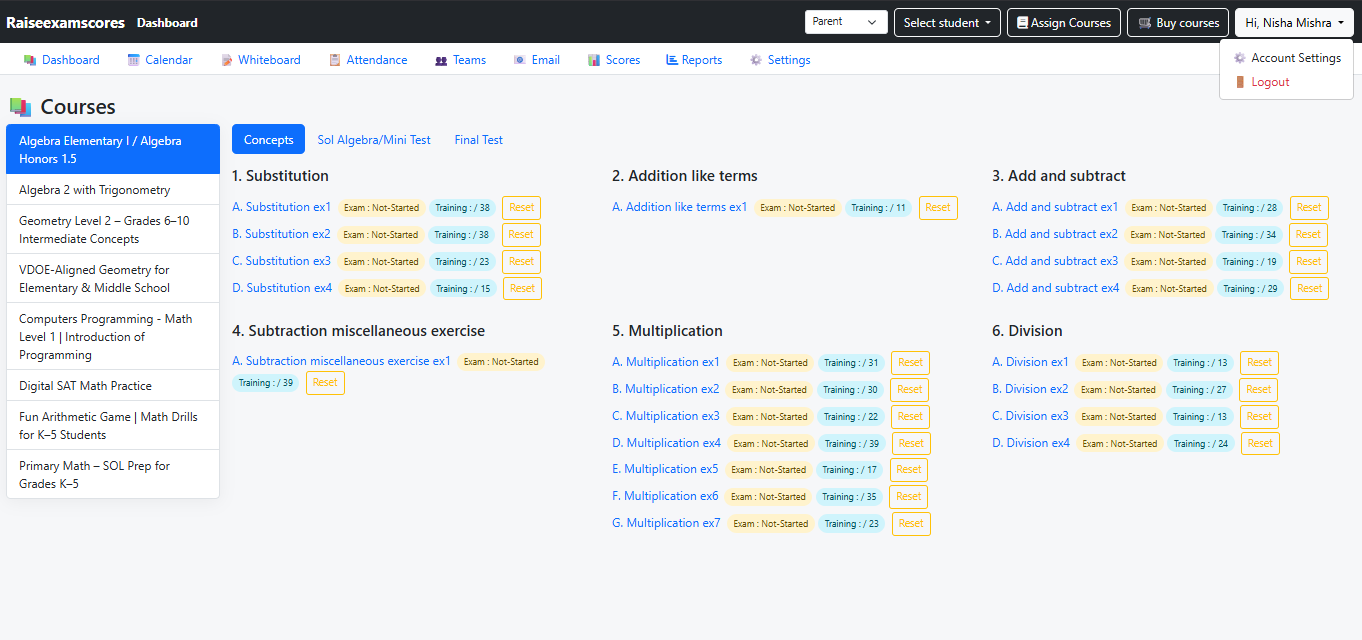
4. You can watch the courses of your student by simply visiting the dashboard. All the courses associated with your students will be displayed
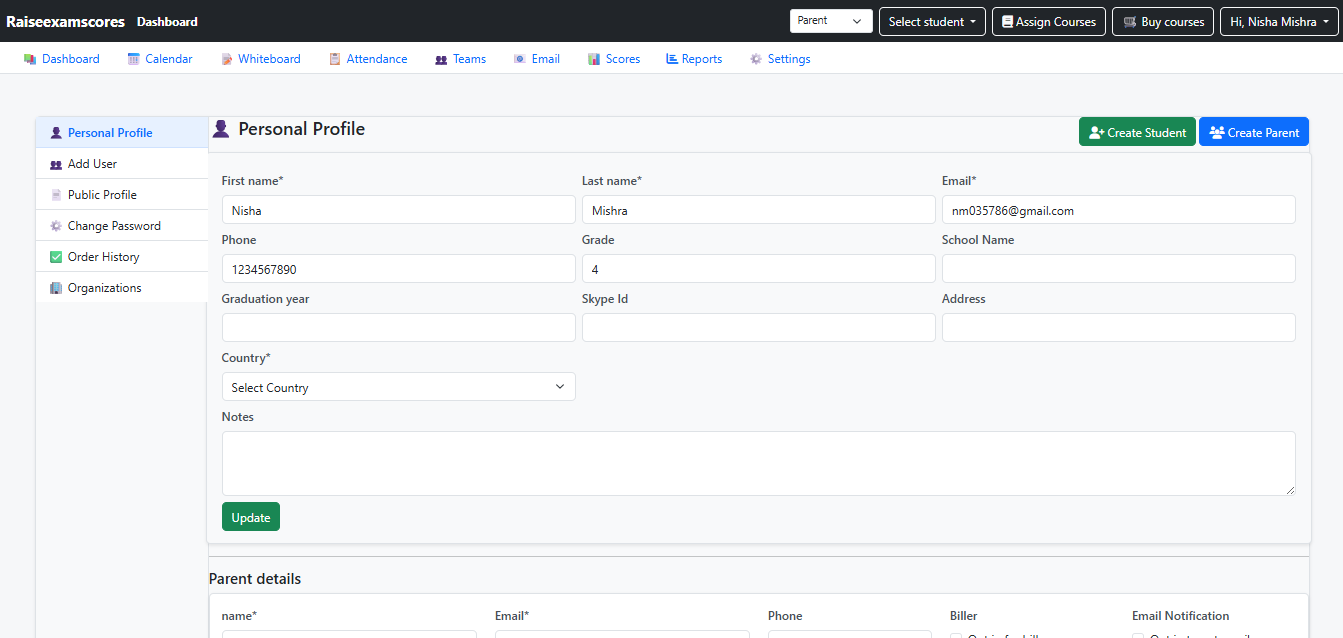
5. To access your account features, navigate to your name on the Dashboard top corner --> Account Settings.
6. After visiting the settings section, click on the Personal Profile option from the left panel to view the personal profile section.
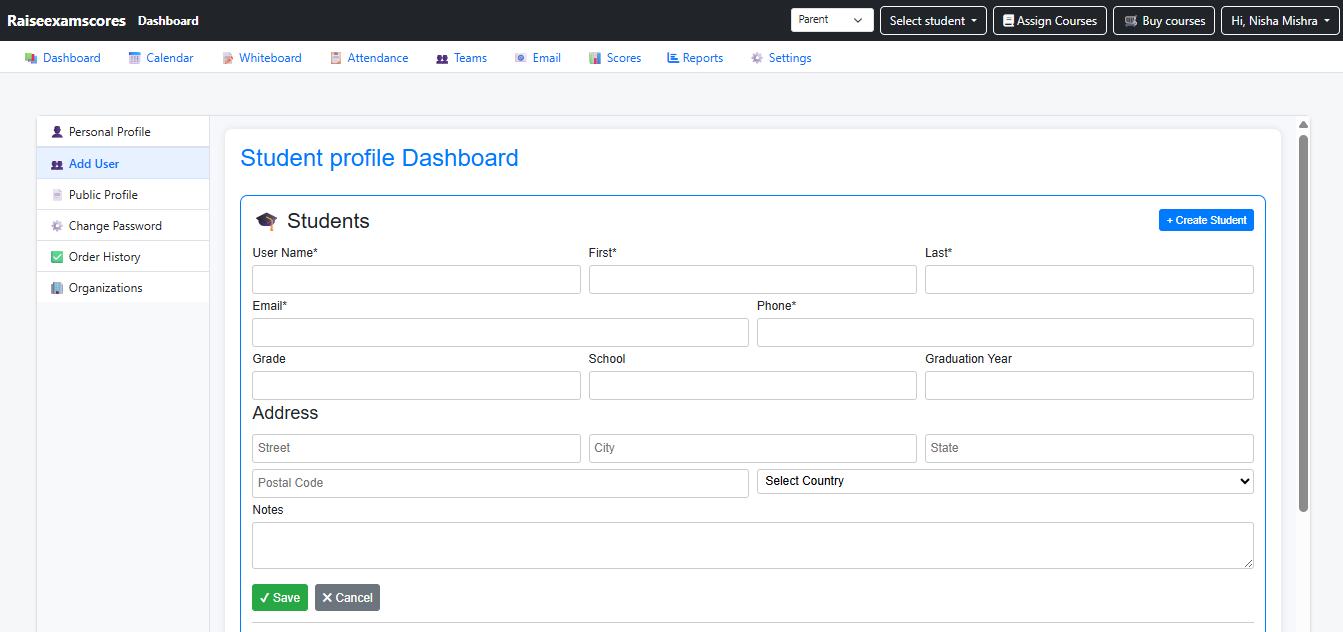
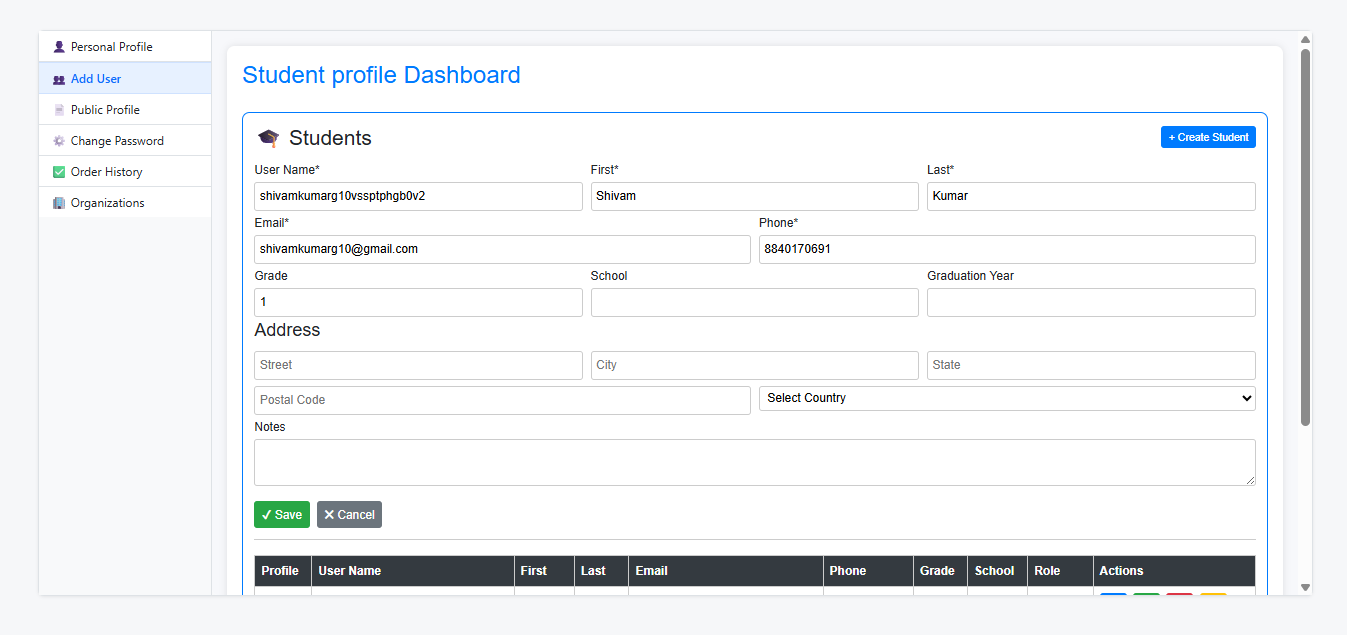
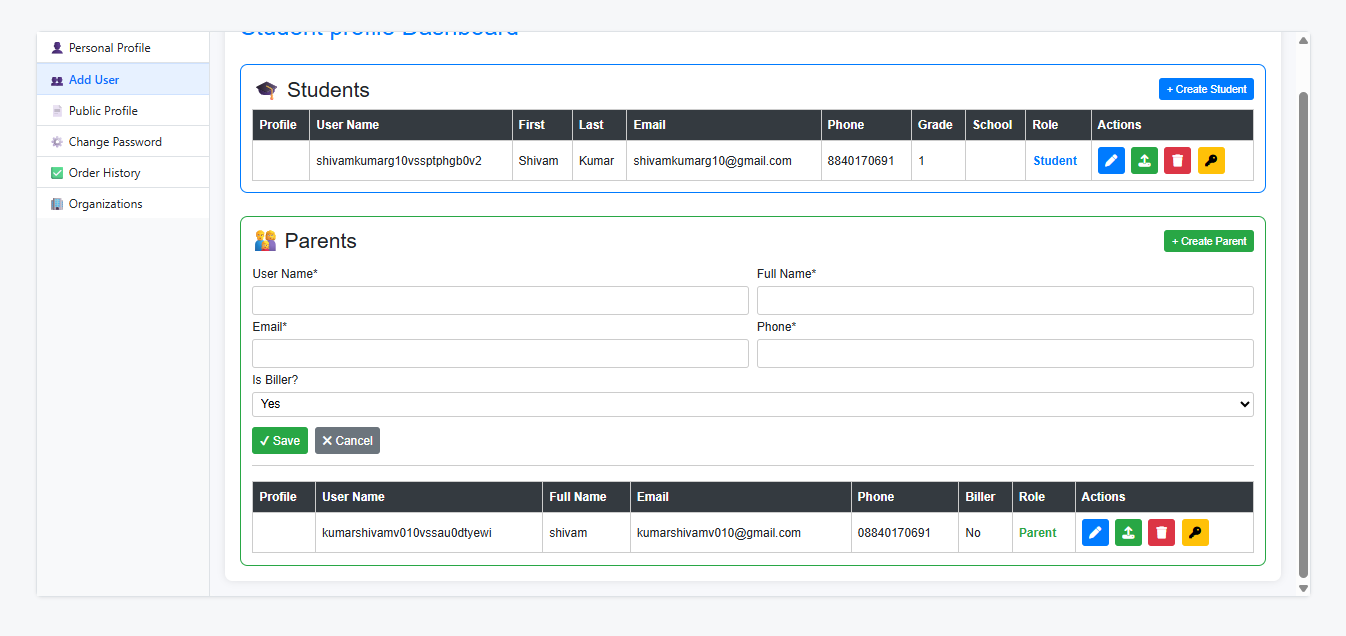
7. To add students, go to the Add User section and select Add Students. Fill in the necessary fields such as name and email, then click on the Add Student button.
8. You can edit student details by clicking on the Edit Student option.
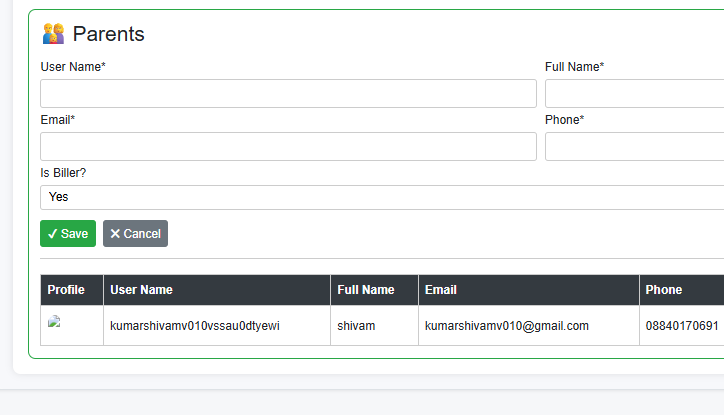
9. You can add other parents by visiting the Add User section and selecting Add Parent. Similar to adding students, fill in the required fields such as name and email, then click on the Add Parent button.
10. Similar to editing students, there is an Edit Parent section where you can update the details of a particular parent.
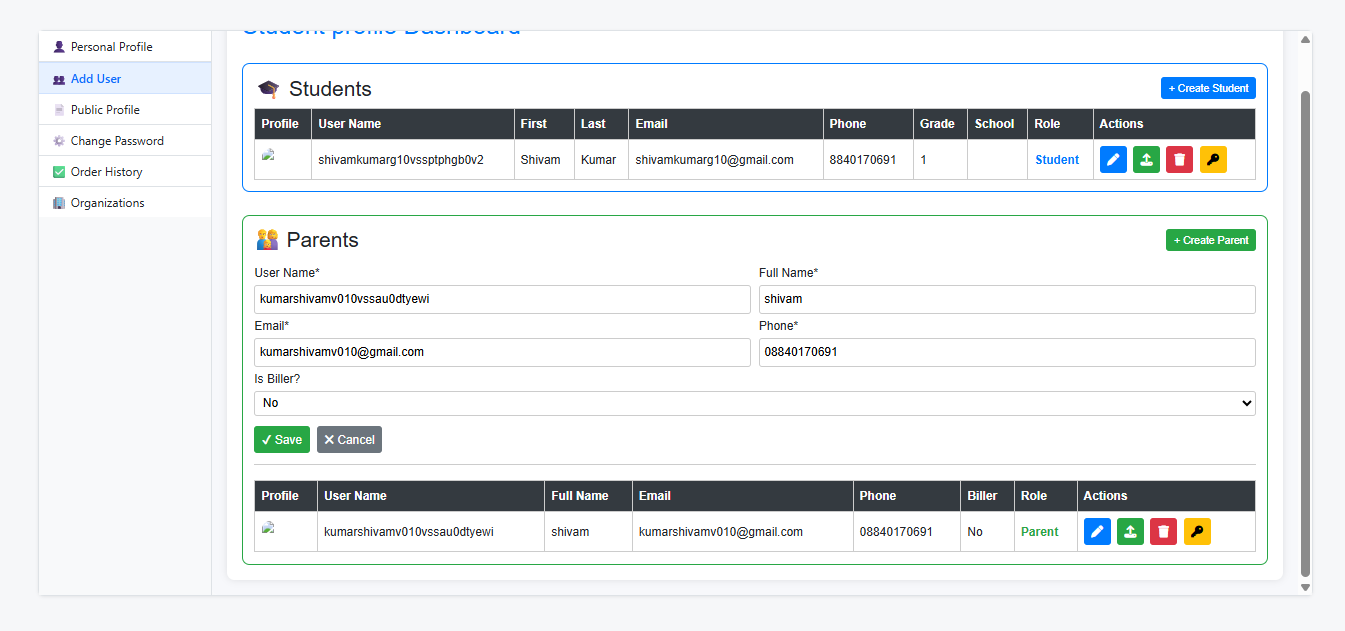
11. What is a Biller? While adding a parent in the Add Parent section, you will find a toggle called Add Biller. A biller is a parent who is responsible for making payments for their respective student's expenses.